We needed a dining table, so I made a table! I bought wood from a lumberyard, then spent two months in the HobbyShop trying to finish this in time to put food on it for Thanksgiving (spoiler: just barely did it in time)
Wood required for this project:
- 5 6ft 2x10s
- 4 6ft 2x4s
- 2 6ft 4x4s
The first step, as always, is a planning sketch. I got inspiration from a google images search with terms 'farmhouse trestle table', but wanted to include some personal touches like tapered legs and breadboard ends.
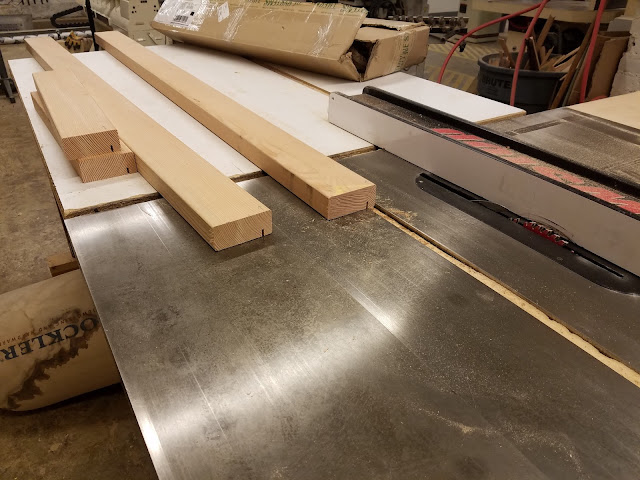
I started with the top. I squared-up 2x10s with the jointer and tablesaw, and glued them up.
 |
| Clamping boards down to check for warpage |
 |
| Drawing all over boards to mark grain orientations I'm happy with |
A note about grain orientation for long glue-ups like this. The standard dimensional lumber I'm using is plain-sawn (as opposed to quarter sawn). Being plain-sawn (flat sawn) means that the boards contain the curvature of the growth rings.
| summitforestproducts.com |
This also means that since moisture loss is greatest along the growth rings, plain-sawn boards in particular are prone to curling away from the direction of the growth rings. This webpage does a good job of explaining the phenomenon further: popularwoodworking.com/article/why-wood-warps.
 |
| thewoodwhisperer.com |
This kind of warpage, called cupping, only curls the board around 1/8", but to prevent a runaway feedback loop it's good practice to alternate the grain orientations on adjacent boards. This way it averages out and is less apparent in the final tabletop.
 |
| Glue boards so that the endgrain lines up like so |
I leaned up my glue monstrosity against a wall and started working on the frame components. First up were the 4x4 legs. I wanted to make them slightly tapered, so they would look less like dimensional lumber. To cut repeatable tapers, I made a bandsaw jig that fit the miter track.
 |
| leg clamped down in the jig |
 |
| side view of jig |
 |
| note the tapered shim on the bottom to compensate for already-cut sides |
Following that, I used a V-shaped jig to cut a 3" flat into the tops of the legs. The mounting bolts will go here.
 |
| cutting the flat |
 |
| cutting the flat |
In the interest of making an entirely disassemble-able frame, I'm mounting the legs to the apron using these premade corner brackets. I marked bolt locations with a punch, then drilled pilot holes on the drillpress.
I threaded on the hanger bolts using a nut and a socket wrench (the two ends have different thread sizes, so the nut bites on enough to apply torque with the wrench.) Afterwards, I repaired the threads using a die.
Last step on the legs was drilling clearance holes and adding threaded inserts to the bottom to accommodate adjustable feet. Then the legs were done!
 |
| Hammering in threaded inserts |
Moving on to the apron, I cut 2x4s to size and then added a thin dado using the tablesaw to accommodate these Z-clip table fasteners. Clamping the tabletop to the apron using these slots will allow for seasonal moisture expansion and lessen the chances of cracking the table.

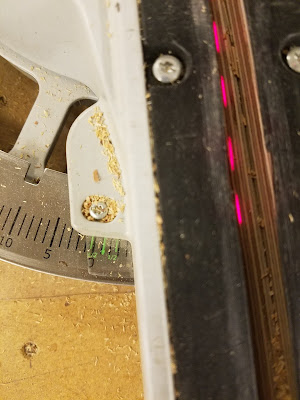
Because the legs are tapered, I needed to taper the ends of the apron as well. I measured the leg angles and set the chop saw to a 1deg angle (this ended up being slightly too much, but the gaps aren't too noticeable)
 |
| Setting chopsaw angle |
Then I dry-fitted the frame and pronounced it done! I packed away the frame pieces and continued work on the tabletop.
 |
| Dry-fitting frame. Look at all the lovely HobbyShop space in the background |
My original plan was to only have thin breadboard ends as aesthetics and protection for the endgrain, but then the HobbyShop shopmaster went on a rant about how fine furniture's details needed to serve more practical purposes than just aesthetics and that I needed to do breadboards right.
Suffice to say, I ended up making proper breadboard ends and it was overkill.
Breadboard ends serve two purposes. First, they mechanically counteract cupping (see note on grain orientation above.) Second, they reduce exposed endgrain surface area (endgrain is more fragile).
Properly-attached breadboard ends need to allow for wood expansion; otherwise stresses will crack the table. This rules out glue as a reasonable attachment mechanism. Instead, I chose to use woodmagazine's method of concealed mortise&tenon + dowel slots. I also decided to use popularwoodworking's method of combining the mortise&tenon with a tongue&groove joint, which allows me to make more concealed mistakes without sacrificing structural integrity. (popularwoodworking also has an excellent guide to breadboard ends in general, check it out)
As a final detail, I chose to make the mortise&tenon have a slight shoulder above the pockets. Since I'm an amateur and was certain I wouldn't be able to get the breadboards completely flush, I wanted to ensure the inevitable gap would get concealed by some wood versus going through the entire table. This ended up being a good call even if it made everything else more complicated.
I marked up both breadboards with a marking gauge, then tried mortising them on the mill. That went terribly (board was too tall and vibrated loudly).
Second attempt was with the mortising machine (new tool!), which went much better. With this machine (effectively a horizontal mill), the workpiece is clamped flat while the tool is moved in XY with a joystick lever. Stop-nuts on the ballscrews let me set a repeatable mortise width and depth.
First I milled out the pockets, then went back and did the shoulder mortise.
 |
| I marked the far edge of each mortise to keep even spacing |
 |
| Shoulder mortise |
 |
| completed breadboards |
With breadboards done, I put the tabletop on sawhorses and cut it to size with a track saw. Then, I scraped off excess dried glue and started cutting tenons with a plunge router.
 |
| This tracksaw is cleverly extruded to have built-in channels for clamps |
 |
| Planning phase |
 |
| The tracksaw track also makes a great straight-edge guide for the router |
I routed both shoulder-depth and tongue-depth tenons, then flipped the tabletop over and did the same on the other side. I then used a saw to form the tongues. Luckily for me, this process cut out the tear-out on the outer edges of the tabletop and let me hide my bad technique!
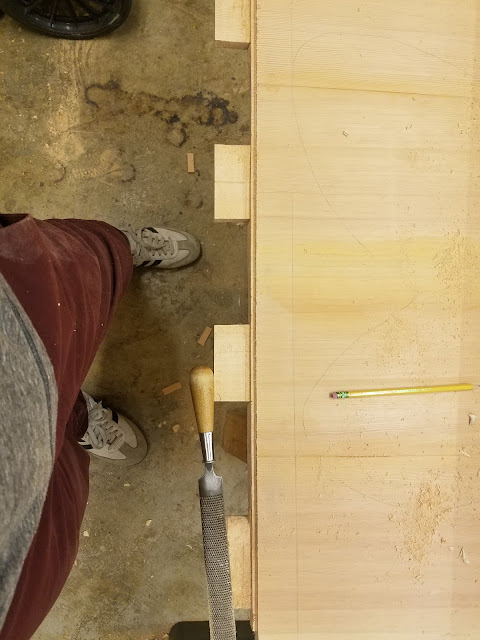
Because my mortises were cut using a routing bit, I needed to round off the sides of the tongues. I did this with a coarse file. The process was very trial-and-error, but eventually both parts fit snug.
Once the breadboard was attached, I drilled the 3 dowel holes that need to become slots (to avoid overconstraint). One hole is left for later, because it remains circular. Drill bit used is a forstner bit, which produces the crispest edges.
Then I pried the breadboard off again. Drilling dowel holes through both breadboard and tabletop in one operation ensures that my slots are located in the right place.
After creating slots with a round file, I reattached the breadboard, pounded in dowels, then cut them flush. I only added glue to the uppermost section of the dowel - having the dowels glued to the tongues would make the slots useless.
State of the tabletop! Left side is waiting for glue to dry before cutting them with the flush-cut saw.
I waited a day for glue to dry, then got Coby and other members of the HobbyShop to help me maneuver this tabletop to the thickness sander. That tool was an immense time-saver, turning a roughly multiple-day sanding job into 3 hours of work.
After cleaning up sawdust, I applied two coats of satin wipe-on polyurethane (1000-grit sanding between coats). The frame parts got one coat.
 |
| Revealing the pretty colors is the best part! |
 |
| All parts finished and drying |
Once dry, these pieces all got bundled into a hatchback by my tetris-genius roommate and unloaded into our kitchen. I assembled this table in an evening, where the longest step was centering the tabletop over the frame. Tools required: screwdrivers (and drill because I'm lazy) and pliers.
A two-month project: done!
 |
| Unclear what's going on with the whitebalance in this/next picture |
 |
| Assembled table! |
 |
| Finished in time for Thanksgiving |
 |
| celebratory coffee and cheesecake |


No comments:
Post a Comment